
Installing blackout blinds is easier than you think! Follow these simple steps to get the perfect setup:
Step 1: Gather Your Tools – You’ll need a measuring tape, a drill, screws, a pencil, and a level.
Step 2: Measure Your Window – Take precise measurements of the width and height to ensure a proper fit.
Step 3: Mark the Mounting Brackets – Use a pencil to mark where you’ll install the brackets (inside or outside the window frame).
Step 4: Install the Brackets – Secure the brackets in place using a drill and screws.
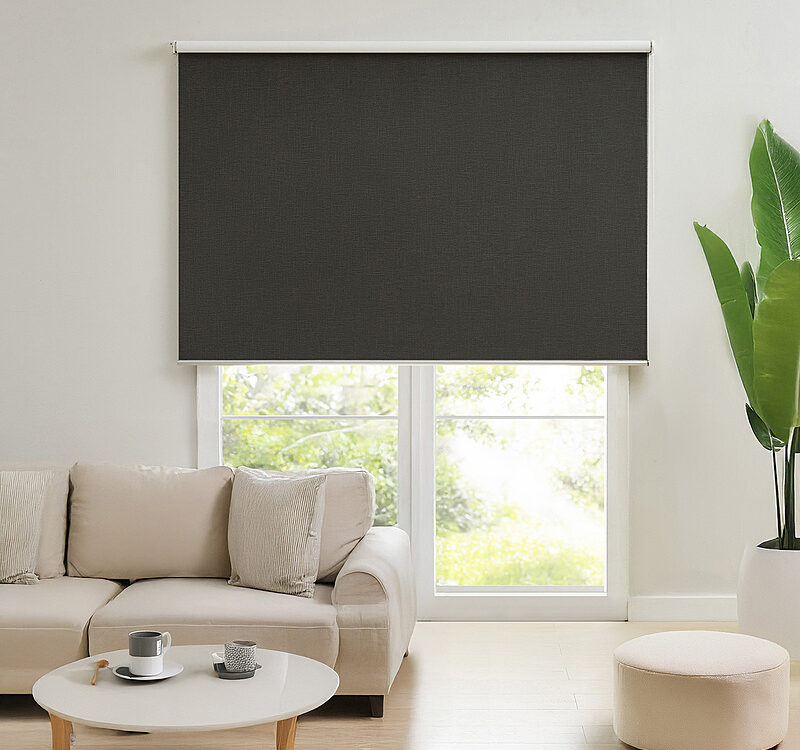
Step 5: Attach the Blinds – Once the brackets are secured, snap the blackout blinds into place.
Step 6: Test and Adjust – Lower and raise the blinds to check functionality and make any necessary adjustments.
By following these steps, you can easily install blackout blinds yourself without the need for professional help.